Build Your Own Responsive Web App
Step 2: RESTful Routing and MongoDB
Good morning everyone and welcome back to the building your own responsive web app series. After we completed Step 1: Your Dev Environment and Basic Routes, we left your app with some simple routes and styling to get you up and running in your AWS C9 console. Now its time to dive into some more code and understand the different types of routes you can have, and how we set up our Mongo database. Lets get started!
RESTful Routing
What is RESTful Routing: RESTful routing is a client/server relationship that lets the server know how to map your HTML verbs. OK, in English this time please! Simply put, RESTful routes consist of a specific HTML verb that tells a server what to do based on the user request to your site (which is really the server). The next question I bet you are thinking is: what are those HTML verbs?
I am going to explain the CRUD uses that correspond with the HTML verbs in the next post with the Express Router. In my opinion, tt makes it very easy to distinguish the differences in RESTful routing when wyou construct the routes and you can see how each route defines something your server does specifically. The 4 HTML verbs that you need to know for your RESTful routes are in this table:
| VERB | USES | ROUTE EXAMPLE |
|---|---|---|
| GET | Used to display any page that a user requests to see (the blog home in this example) | /blog |
| PUT | Updates data to a page that is already in existance (updating a blog post correcting a typo for example) | /blog/:id/edit |
| POST | Puts new data into your DB for the first time (posts always go to the route index) | /blog |
| DELETE | Delets a sepcific blog post, page or item entirely for your server. | /blog/:id |
app.post("/blog", function (req,res) {

			                //your code here

			                res.render("blog");

			            });
app.get statements that you have been writing so far in this series. The only difference is that the server would then take any data that you provided within the post route and place in your database and update the server files.
That covers the basics of RESTful routing, but I bet you are wonding: Why in the world does this guy keep capitalizing REST and not the rest of the word? It is actually because the REST literally means Representational State Transfer. That means each time your server is hit with a request it only updates to that specific request and doesn't hold memory. This allows 20 different users to make 20 different requests and your server would still function properly.
Ok, lets move on to writing some code and setting up your MongoDB.
Installing MongoDB
Why do we need MongoDB? The reason I want to add your products in Mongoose is to show you how to install it locally, and also how it functions in the MEAN stack. Mongoose is an integral part of any responsive web app as it is going to house 2 important parts of our business site:
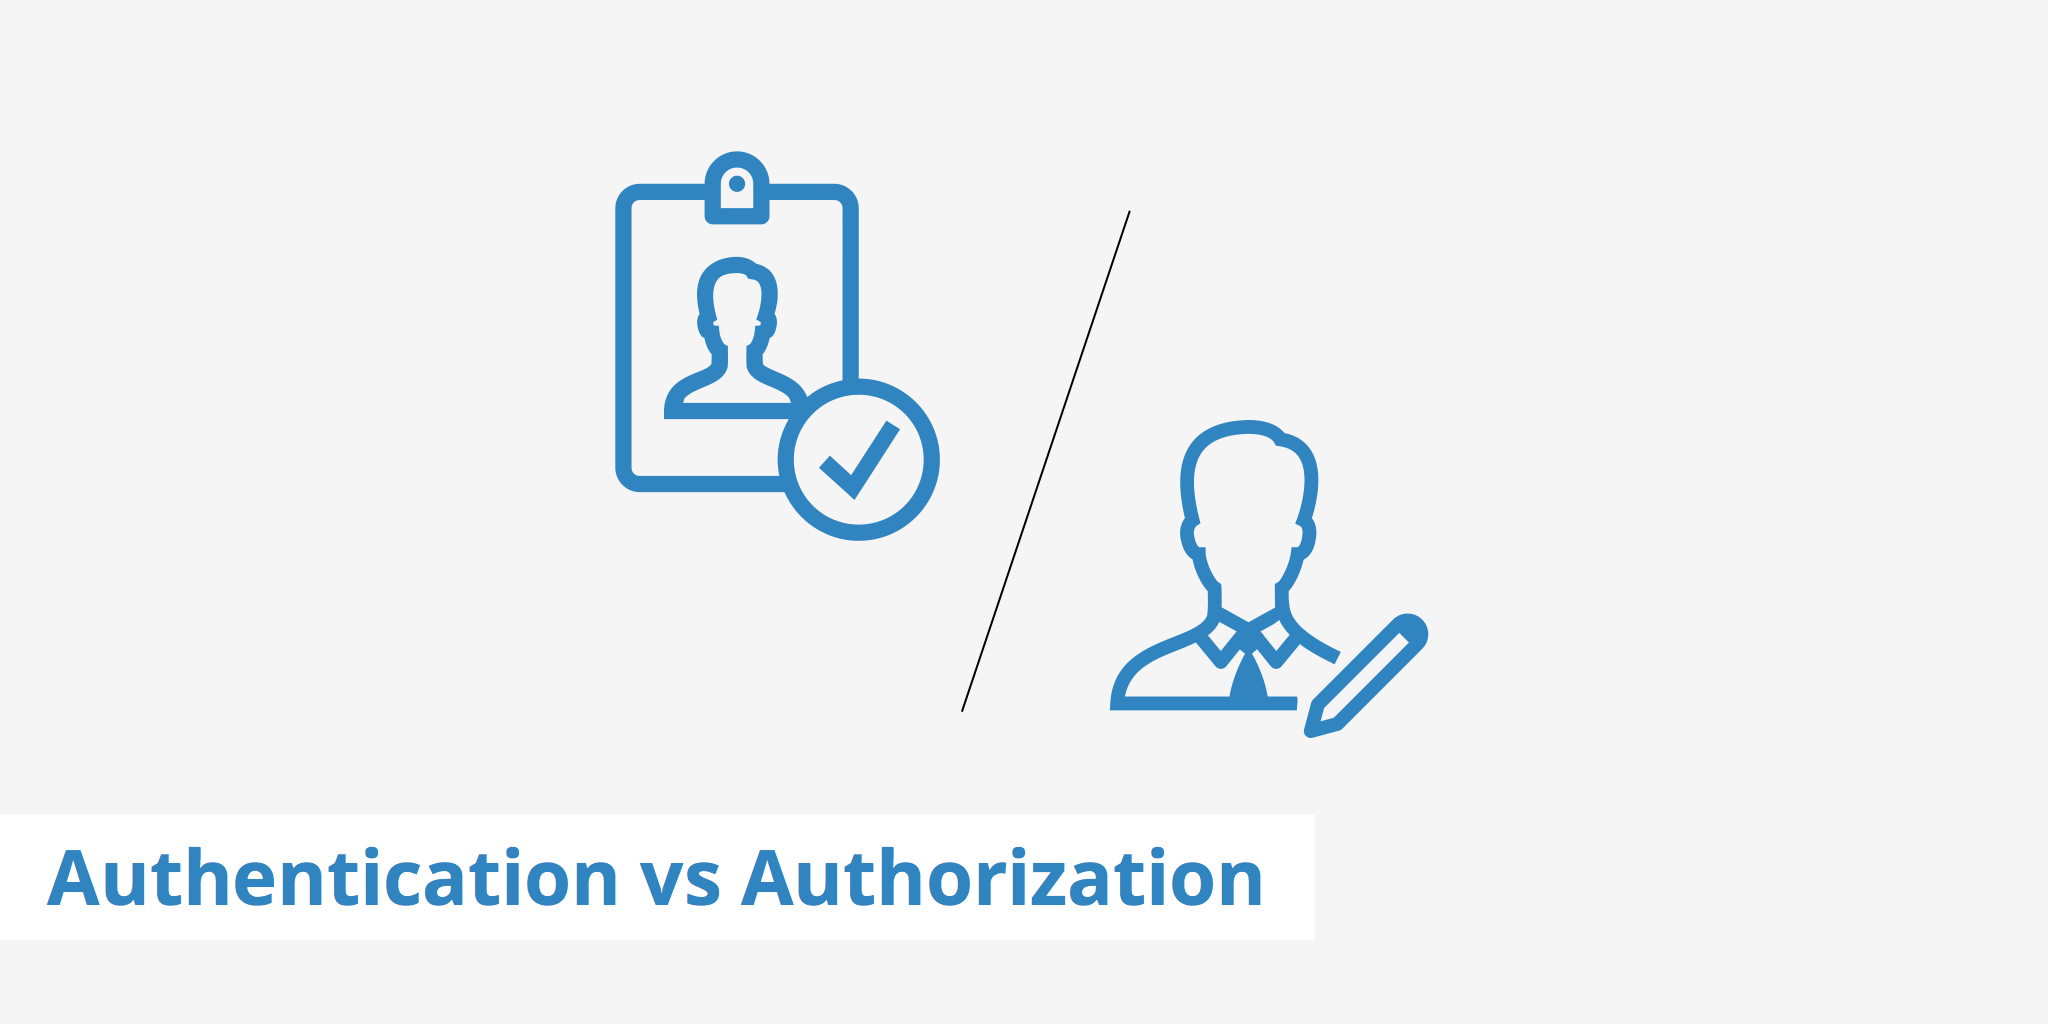
- Allows you, and only you to log in (Authorization and Authentication- Part 4 of this series), and
- It will hold all the data for your services (price, name, description, product number, etc.)
OPTIONAL SAFEGUARD: I personally like to keep verisons of my site that I know are working and functional before I make large upgrades (for example, I am on version 6.5 of my personal site that you are reading this on right now if you looked at my code base). I would advise everyone to duplicate your v1 folder and rename the copy to v2. This way you have preserved your v1 environment in case you type something wrong or can not find where you made an error.
Install MongoDB: Ok, so now that we have our v2 folder lets make sure we are in the root directory of our environment. If you are in either v1 or v2 folders make sure you hit the command line with cd .. (that space is required or you will get a command error) so that it drops you back to your root folder. Now we need to make a file to store the code that will open and install the respository in our environment. Put this in your command line touch mongodb-org-3.6.repo.
Double click on the newly created file and then paste this exact code into file and save it (CTRL + S in Windows or ⌘ + S on a Mac):
	                            [mongodb-org-3.6]

	                            name=MongoDB Repository

	                            baseurl=https://repo.mongodb.org/yum/amazon/2013.03/mongodb-org/3.6/x86_64/

	                            gpgcheck=1

	                            enabled=1

	                            gpgkey=https://www.mongodb.org/static/pgp/server-3.6.asc
In your terminal copy and paste this line: sudo mv mongodb-org-3.6.repo /etc/yum.repos.d. You should see the new file you made dissapear (this code is actually moveing the Mongo install code above the root directory you see so you can install Mongo once and use it in all your projects in this environment). Then put this code in your terminal sudo yum install -y mongodb-org and watch MongoDB get installed from the GIT Repo (If you are prompted to close your mongodb-org-3.6.repo file please close it at this time).
Direct The Data: To tell your local verson of MongoDB where to store the information we are going to provide you have to run a few lines of code one at a time in your command prompt.MAKE SURE YOU ARE IN YOUR ROOT DOMAIN AND NOT IN A FOLDER DIRECTORY BEFORE WRITING THE CODE. In your command line type these lines in order.
- The first line is
mkdir datato create the folder data where MongoDB will look for your collections. - The second line is
echo 'mongod --dbpath=data --nojournal' > mongodto create the path for MongoDB to follow to get to the data folder. - The third line is
chmod a+x mongodtells MongoDB that you have both read and writing privliges to the database.
./mongod. If you see a string of code pop up where it looks for connections to the database then we are good to go and you have MongoDB running in your background. As we go forward I will remind you to enter this line before we test our site going forward since if Mongo is not up and running when we test our site we will get an error. Also, make sure you kit CTRL + C to exit or you will get your database locked on you.
Connect MongoDB To Your App: We need to add one include file under your express require statements that is: var mongoose = require("mongoose");. And we need to add one line of code to tell the app.js file what database to use for our app. Copy and paste mongoose.connect("mongodb://localhost/mybusiness"); directly under app.use(express.json()); in your app.js file and save it. Now we have the Mongoose requirement and the database set up that we are using its time to go to the next step and define the models that we are going to use.
Models
What Are Models? Models are what your MongoDB will use to start adding collections inside your database. For our business website we are going to have 2 models: users.js and services.js. Each will then have objects inside of them that will define the pattern of data that will reside in each specific model. In each model we will define the specific data that we want to collect and then display to users.
The first step to creating the models is to create a models folder in your directory tree. If you are not already in your v2 folder then lets hit cd v2 into the command line to get into the v2 folder. Once we are there lets make the folder by typing in mkdir models so that you get a models folder in the root level of your v2 folder. Step 2 is to make the specific models file that we will use to define the collections in our database. Type this line of code into your command line to create the models: touch models/users.js models/services.js.
Lets start with our users.js file, so double click that to open and it lets get started buildign the model. To start we have to add a requirement statement to be able to have our app function properly:
var mongoose = require("mongoose");
module.exports = mongoose.model("User",UserSchema);
Between those lines lets define what we want to be held in our user collection for out database:
	                            var UserSchema = new mongoose.Schema({

	                               username: String,

	                               password: String

	                            });
I Defined The Users.js File First For A Reason. The important part of defining your users.js model first is that we are going to refer to it in our services.js file as a field of author so we can make sure that only you can edit your services. If we did not do this then one we set up our authorization and authentication we would have to go back and define who was the owner of the services and it could lead to some loopholes for people to hack into your site and change information without your consent- thats not fun or good at all!
lets double click on our services.js model and require the same mongoose statement at the top and then a small tweak to the export statement at the bottom
module.exports = mongoose.model("Services", ServiceSchema);
	                            var ServiceSchema = new mongoose.Schema({

	                               name: String,

	                               price: String,

	                               image: String,

	                               description: String,

	                               productNumber: String,

	                               author: {

	                                  id: {

	                                     type: mongoose.Schema.Types.ObjectId,

	                                     ref: "User"

	                                  },

	                                  username: String

	                               },

	                            });
Connect The Models To Your App.js File
This is the last step for getting your mongoose database ready to roll with inside your app. We just need to insert two lines of code to let the app know where to look. Lets add them now right under the last require statement that we have. Add these two lines
                                    var services = require("./models/services");

                                    var User = require("./models/users");